|
|
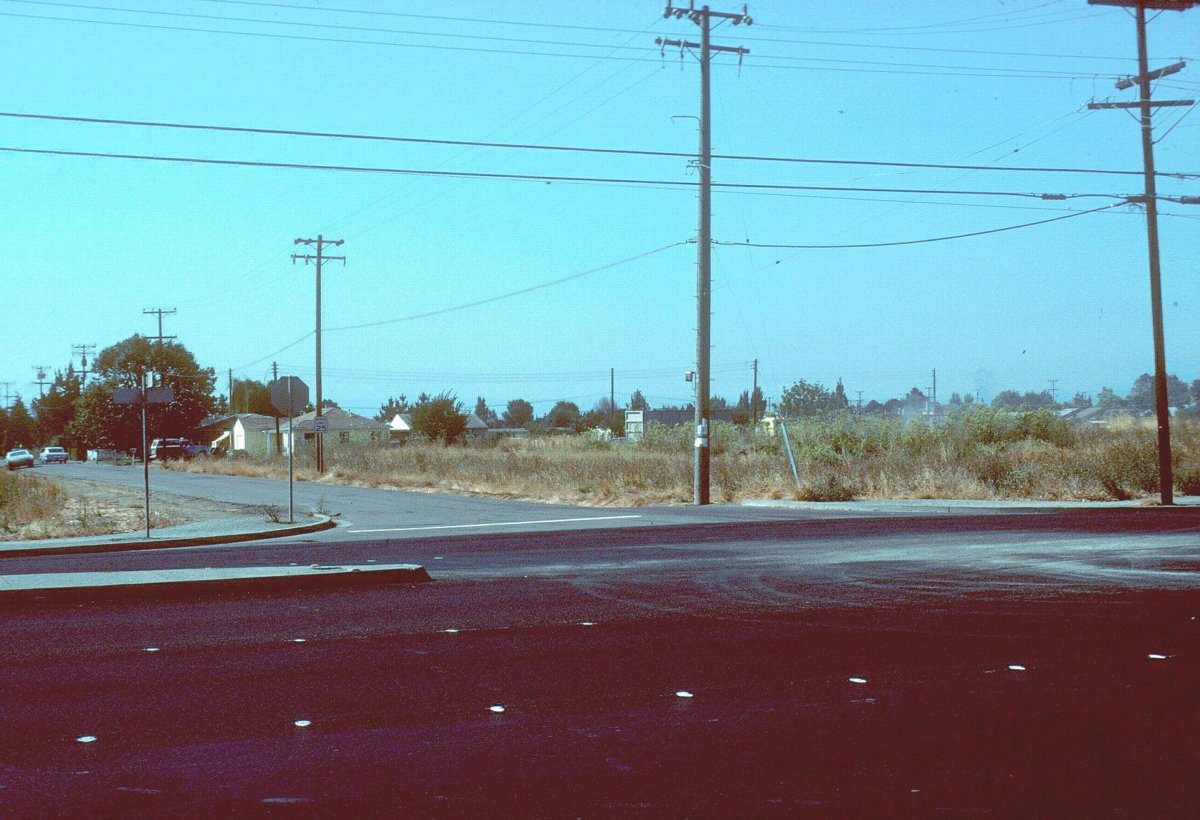
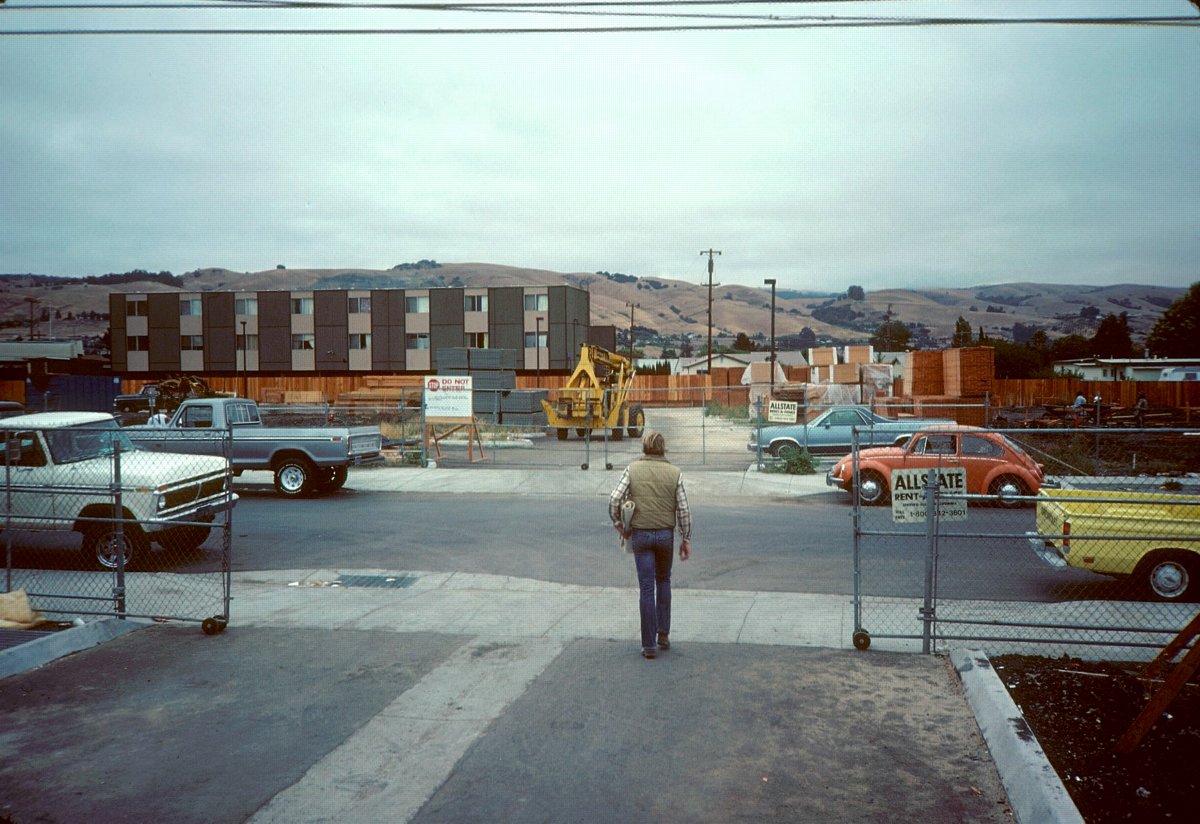
The Lot(s) The La Solana site consisted of two lots of about 2 acres each. Located along Tenneysaon Road, they were separated By Harvey Avenue. This view is the lots from across Tenneyson. |
|
|
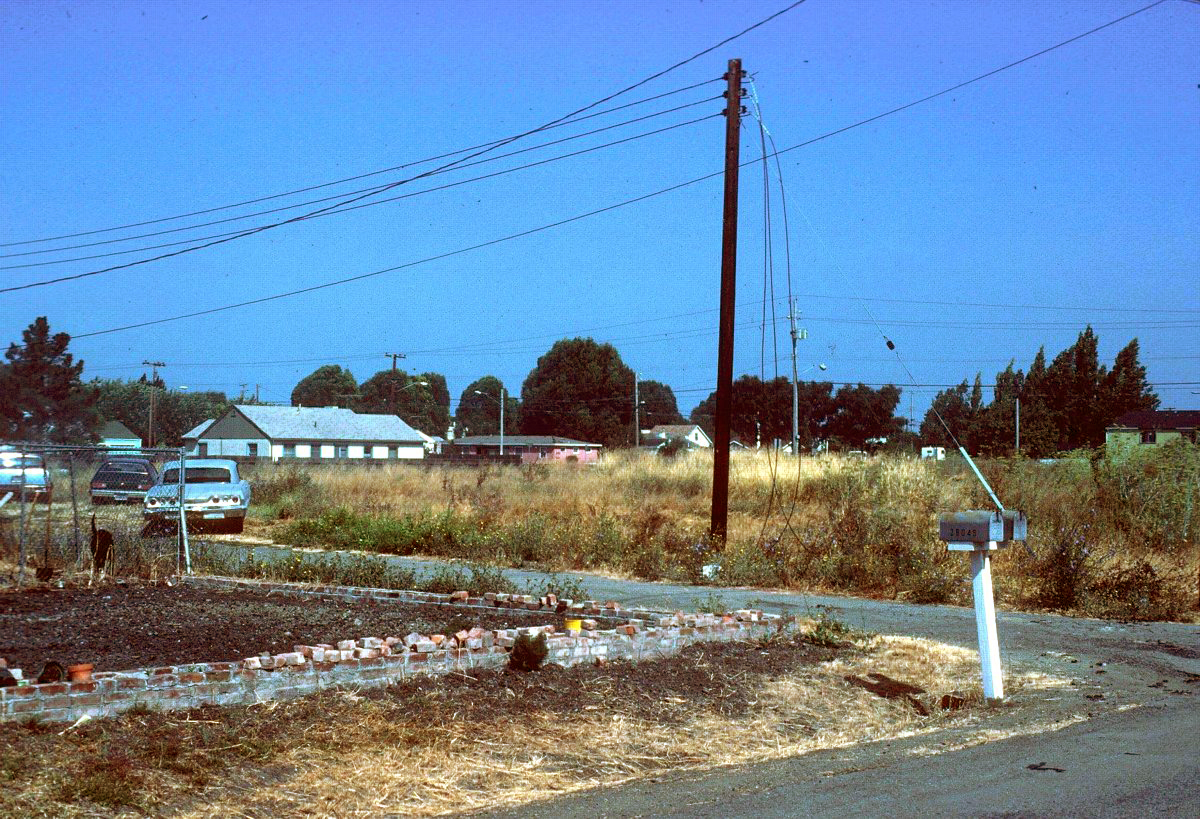
The Lot(s) This view is from the Harvey Avenue corner of one of the lots looking toward Tenneyson. |
|
|
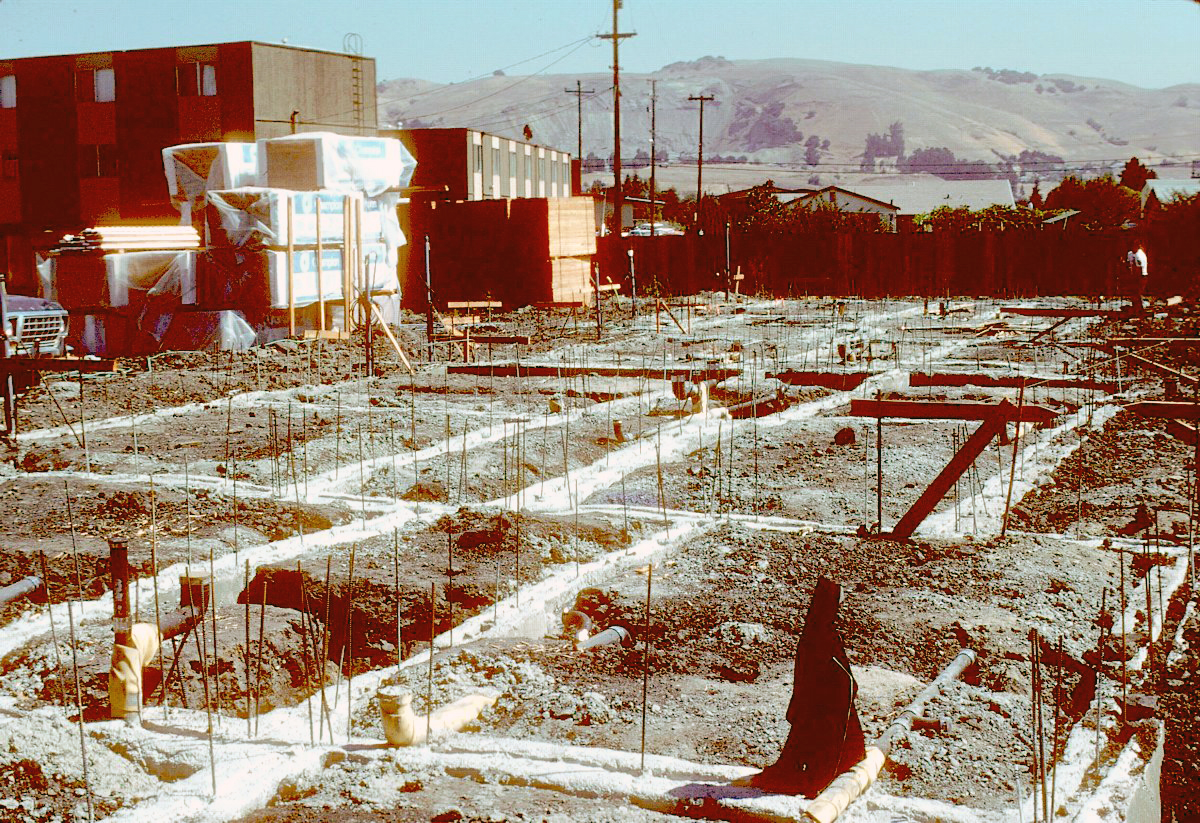
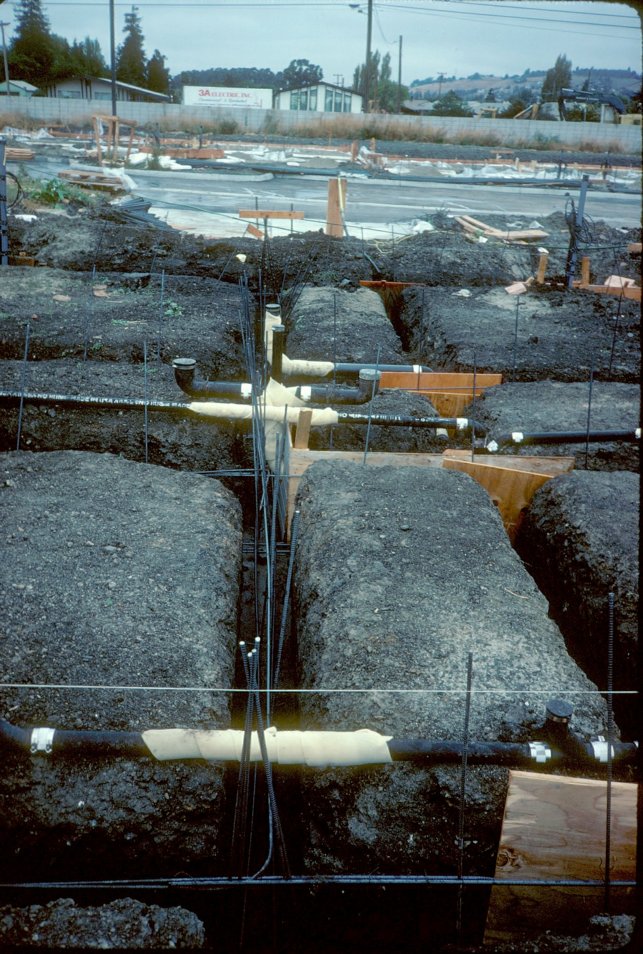
Footings Footings are poured and drain plumbing in place. |
|
|
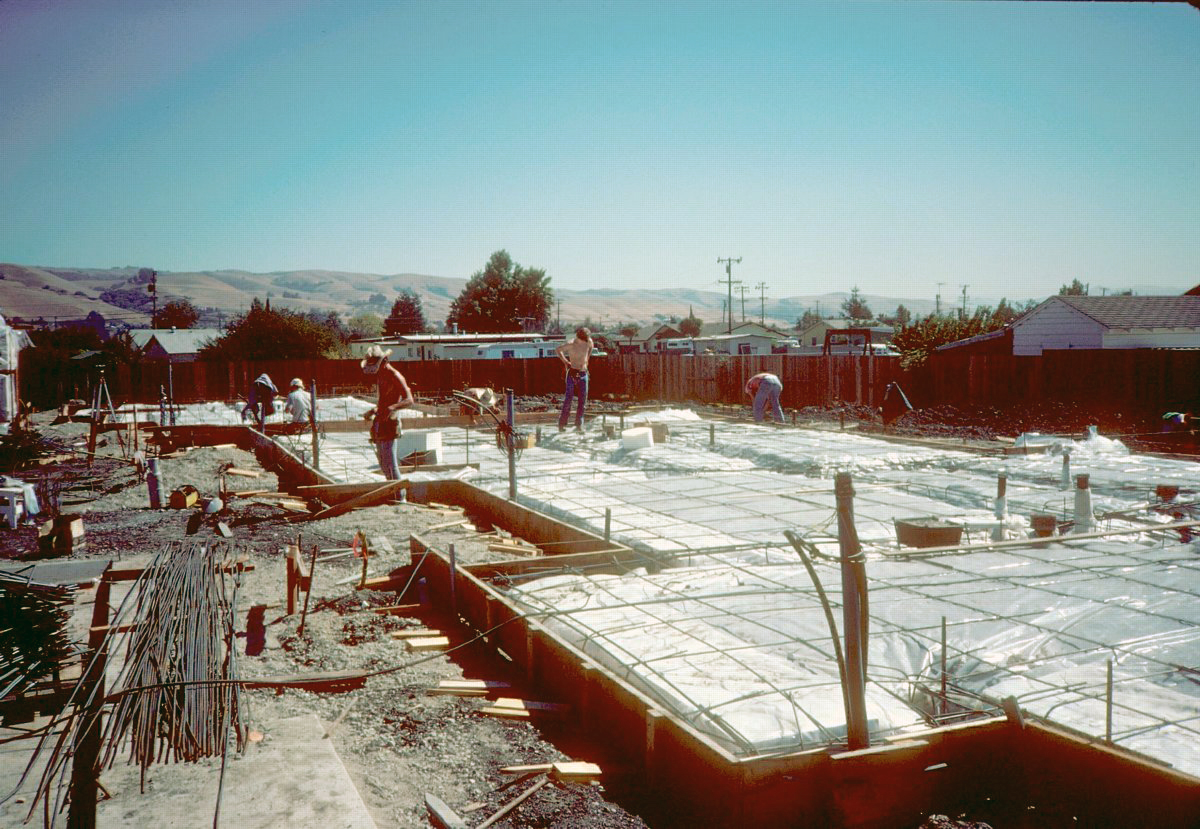
Preparing For The Slab Pour The foam insulation, reinforcing steel and pipework is in place, and perimeter forms are almost ready for the slab pout. |
|
|
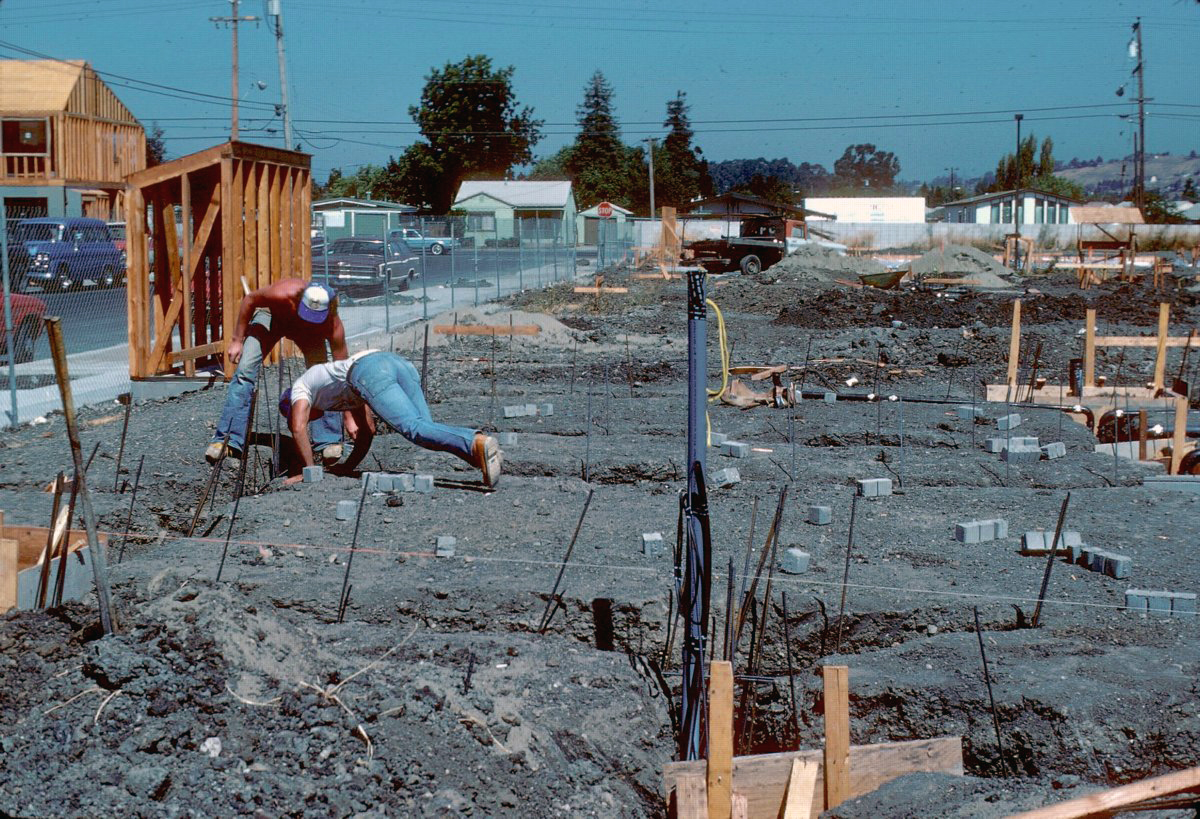
Preparing for Footing Pour There were a total of eight buildings on the site. Here the steel and drain lines are in place ready for footing pour. |
|
|
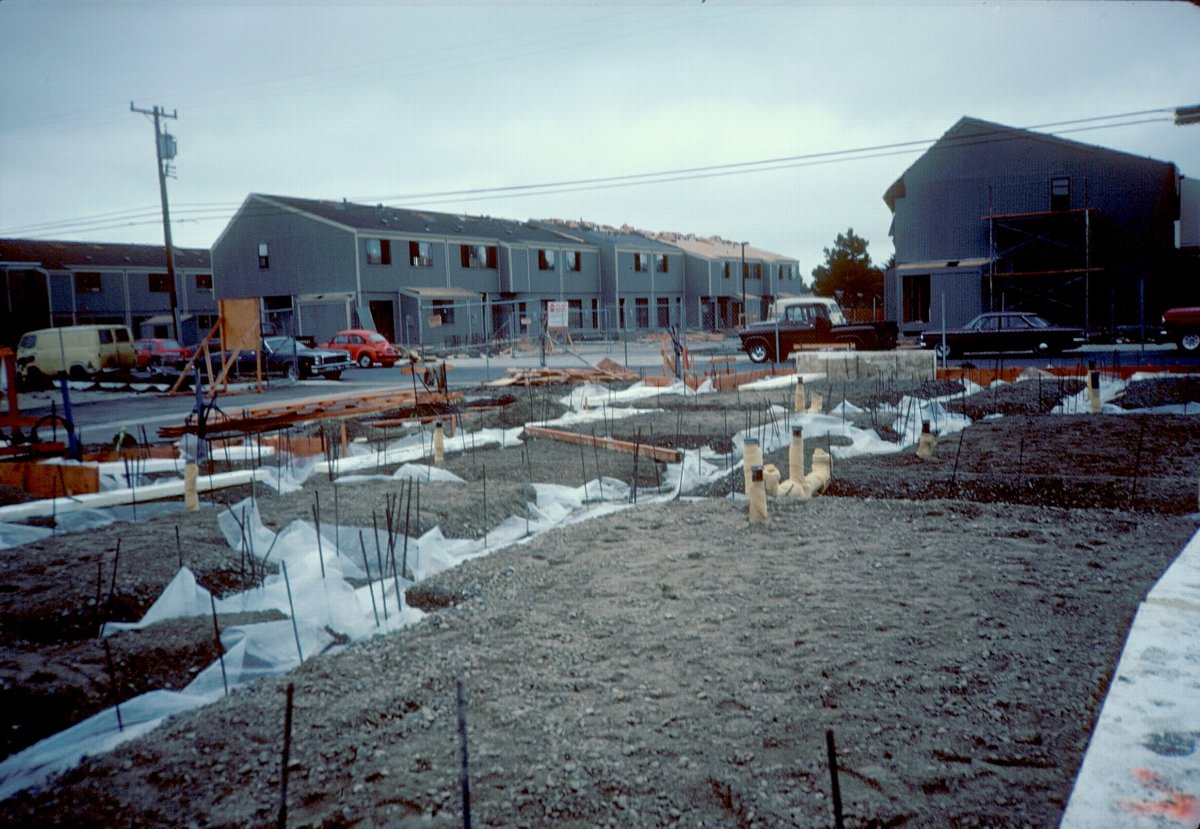
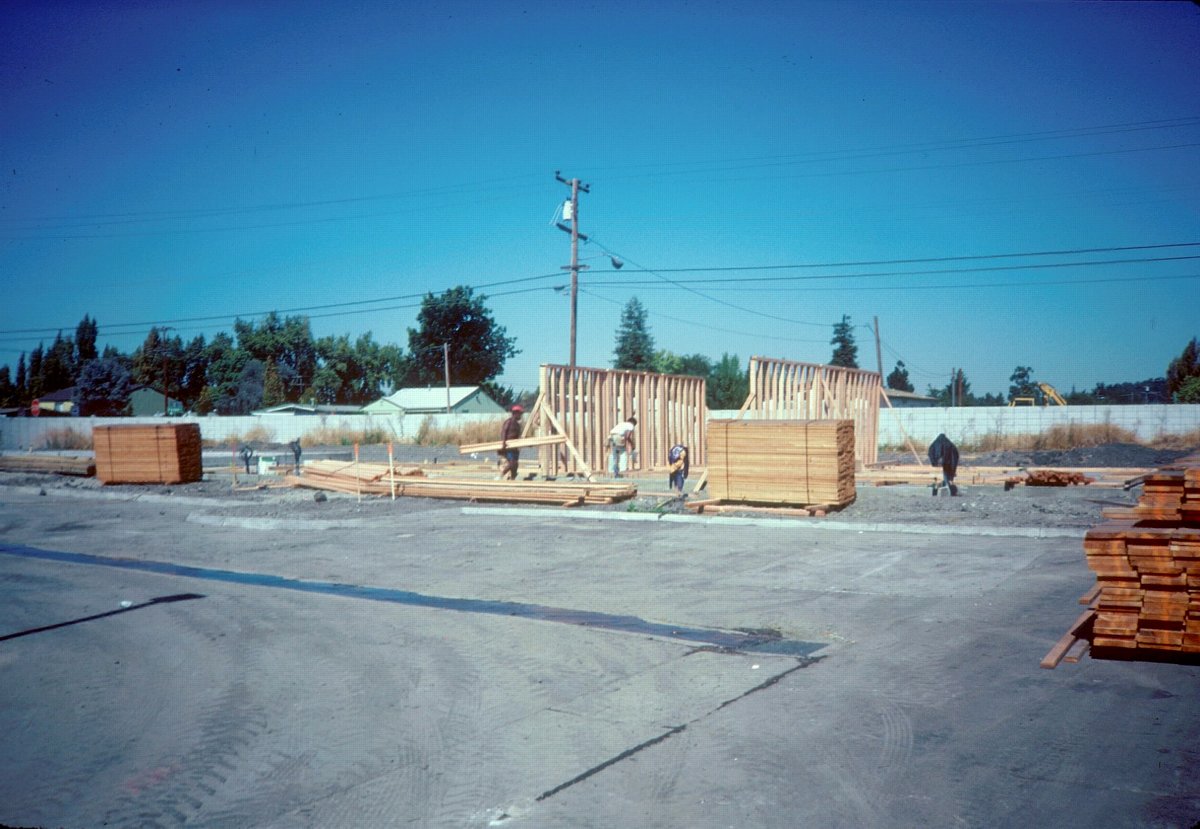
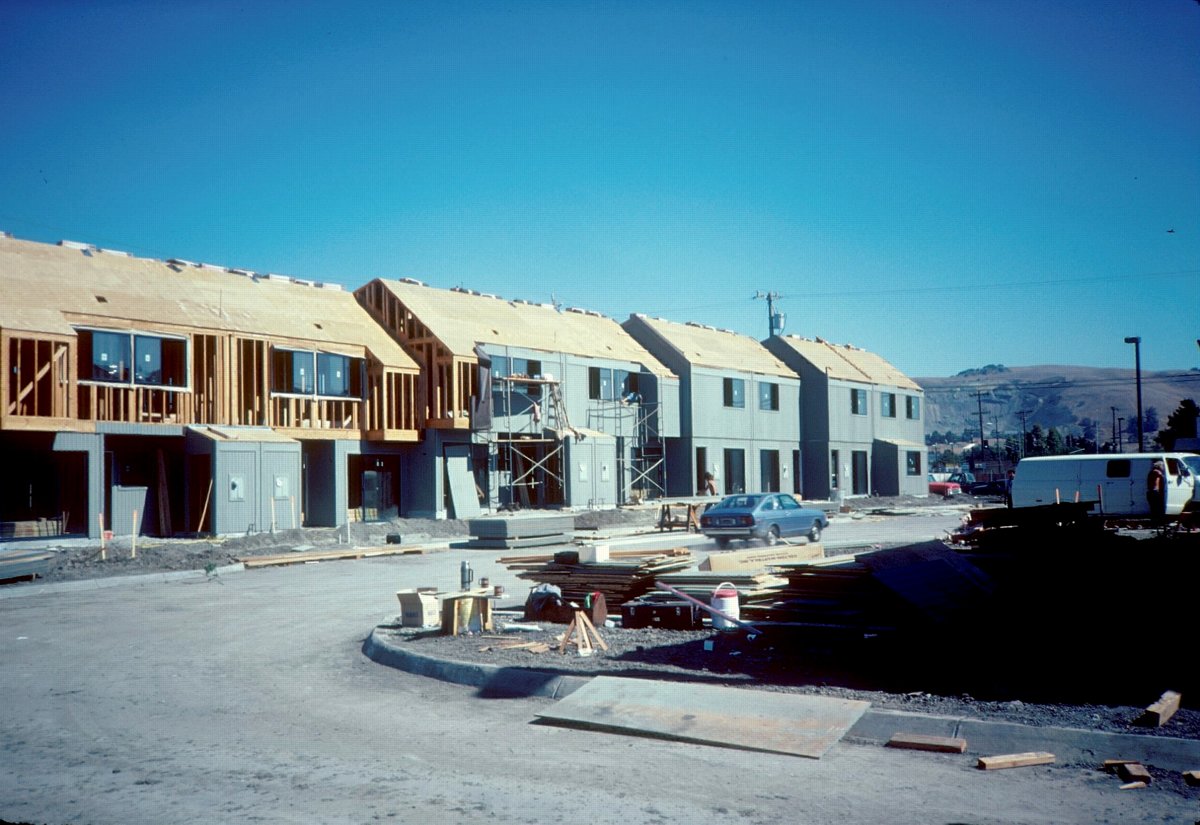
West Side Buildings & East Foundations The buildings on the west side of the site are well along in framing while the foundations are being completed on the east side. |
|
|
Foundations Final check on footings. |
|
|
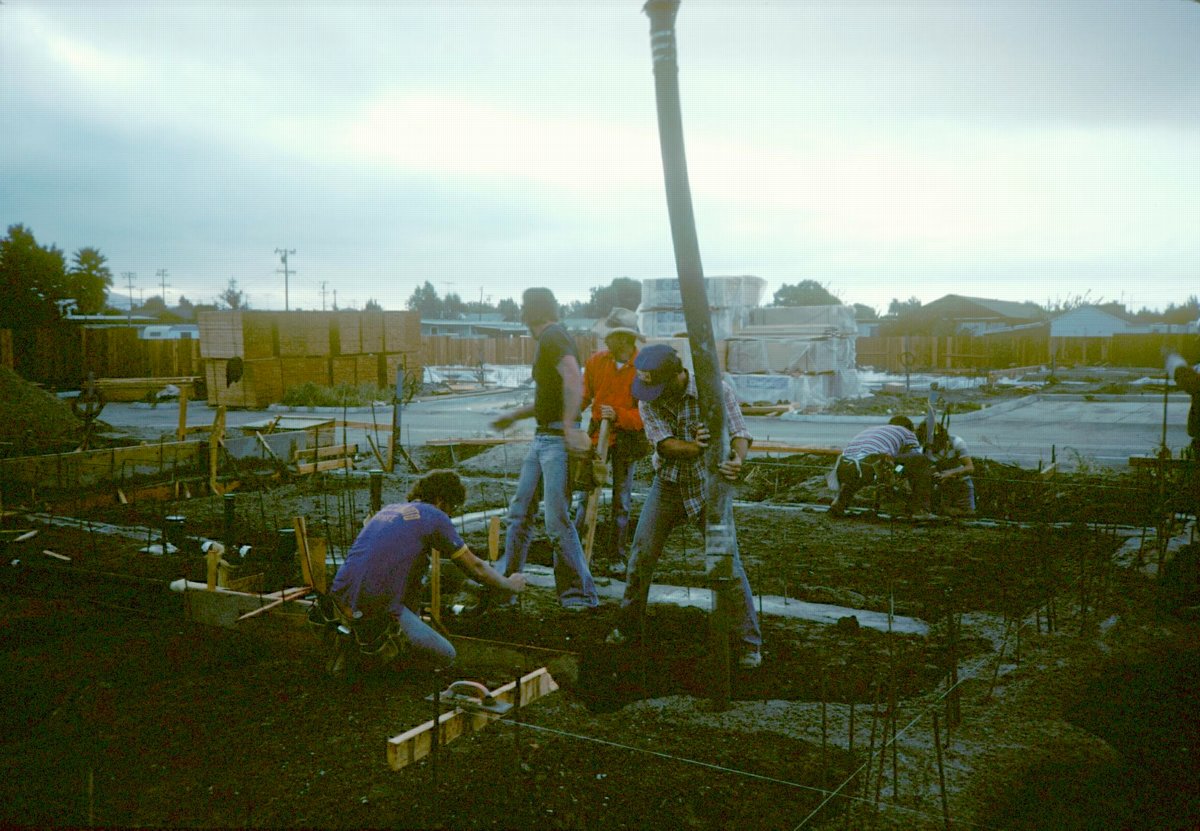
Concrete Pour Footing pour in a light rain. An early decision to complete all street work through curb, gutter and asphalt proved important as other builders working nearby projects without completed streets were shut down for weeks by rain. |
|
|
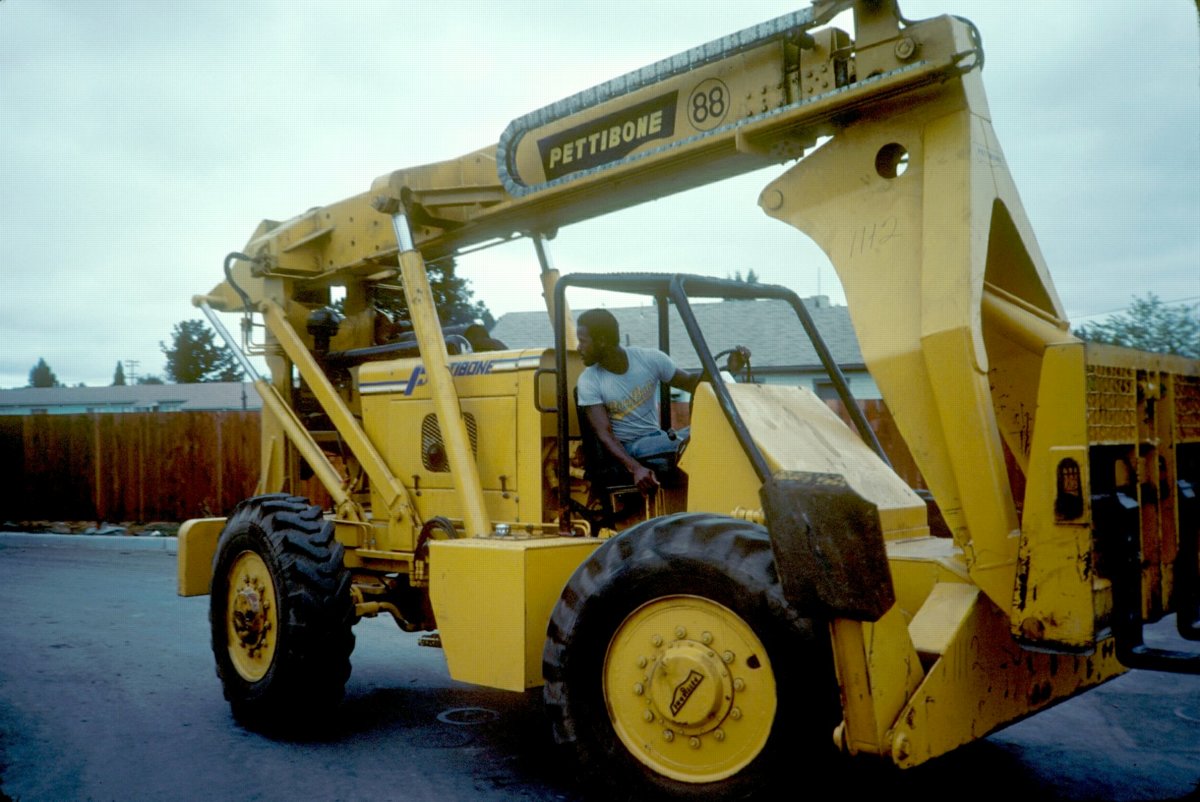
The Bone Our B-88 Pettibone could reach material stores in the paved area and set heavy loads on the concrete slabs overreaching the muddy yards. This allowed work to proceed under almost any conditions. |
|
|
Framing Starts The framing starts on a newly completed slab. |
|
|
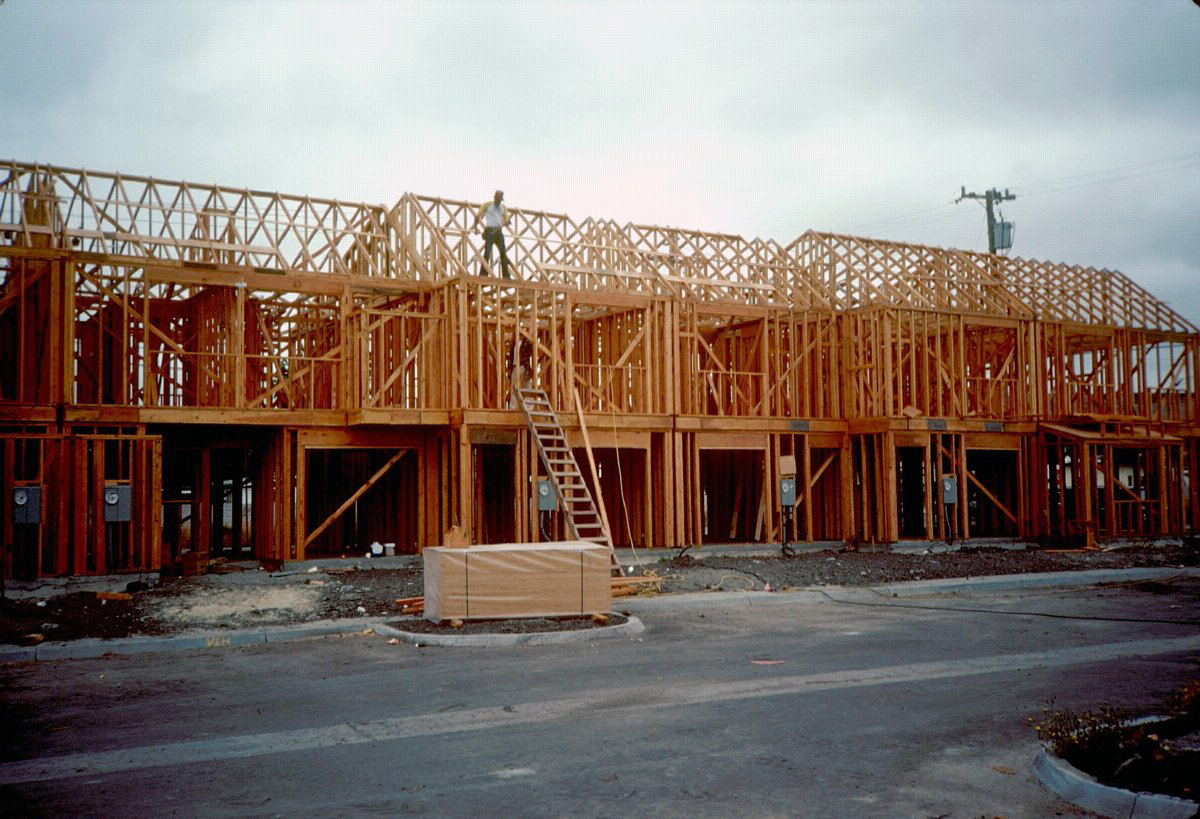
Framing Nearly Complete Framing is nearly complete on this building. |
|
|
East Site Foundation work undersay on the east site. Note the stacks of material ready for use. |

|
|
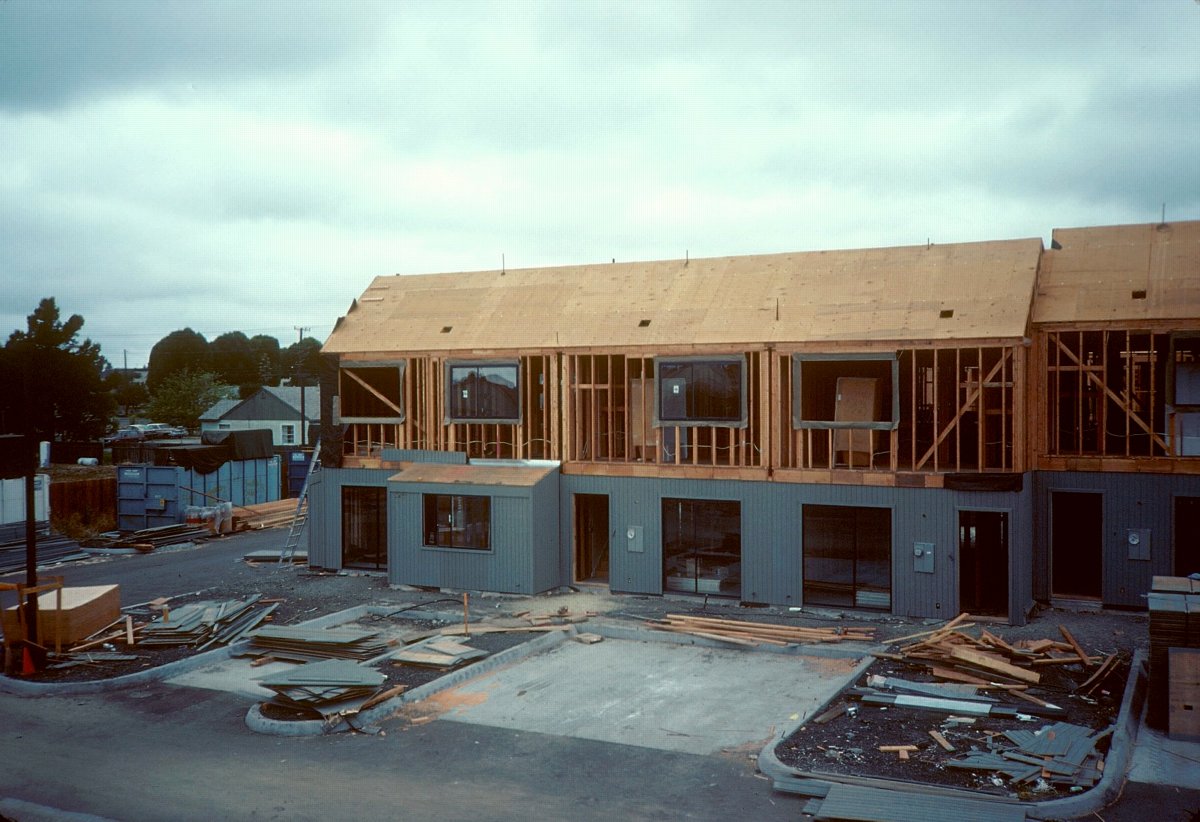
Framing and Finish Framing underway on the east side while finish work is being done on the west. Note that the solar water heating panels are in place on the west side building. |
|
|
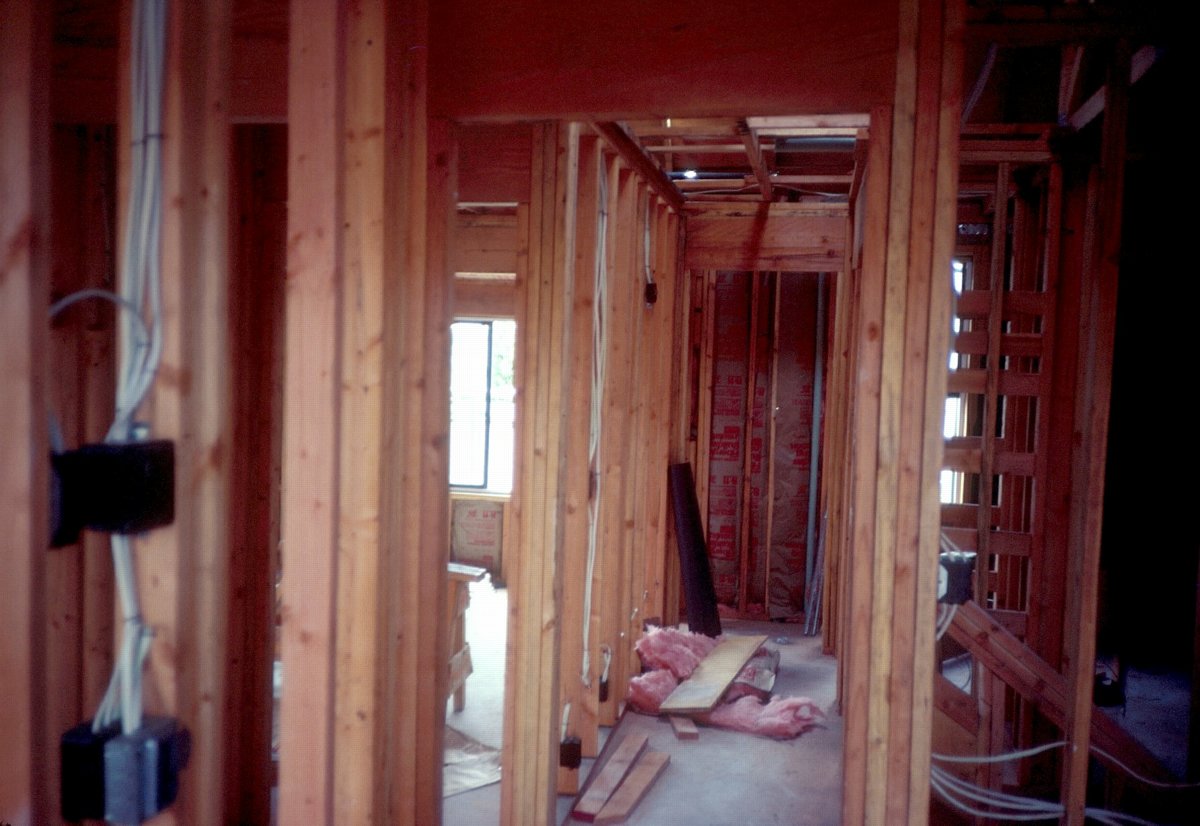
Interior Under Construction Typical of the interior under construction. Wiring and plumbing are in place and insulation is underway. |
|
|
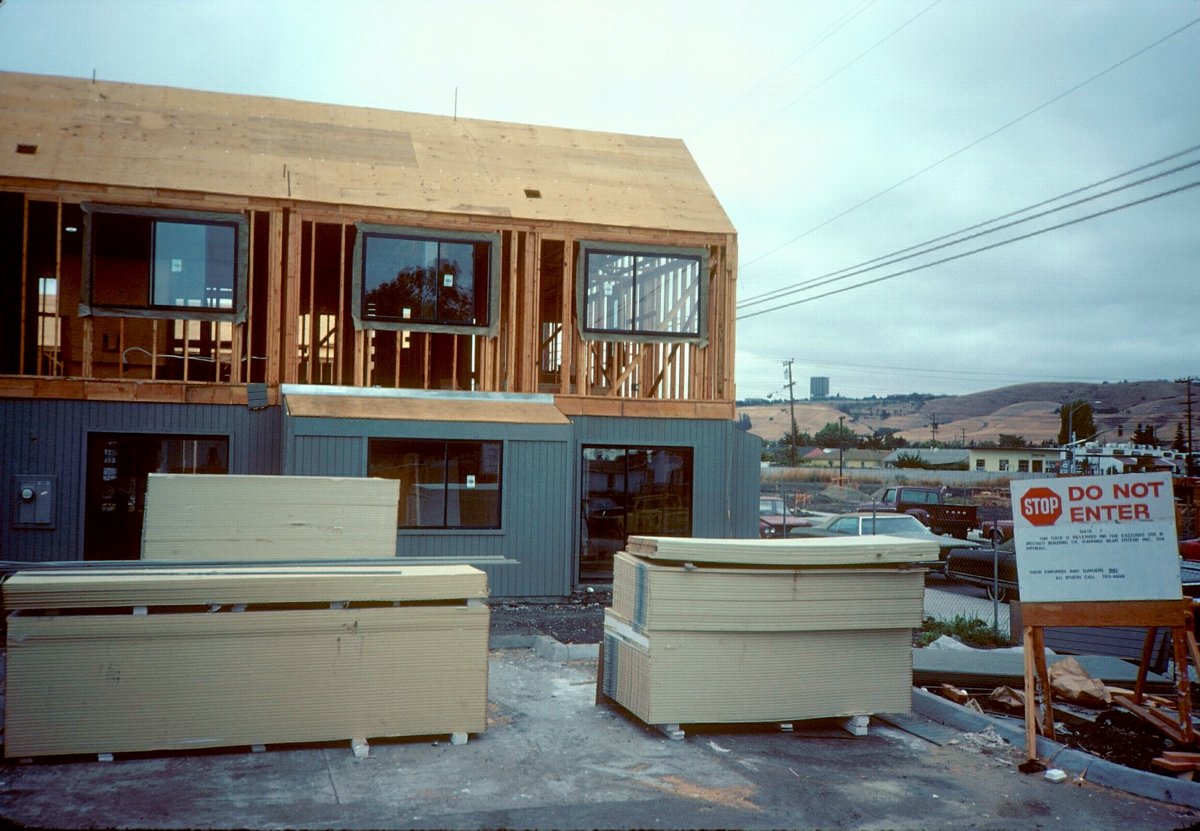
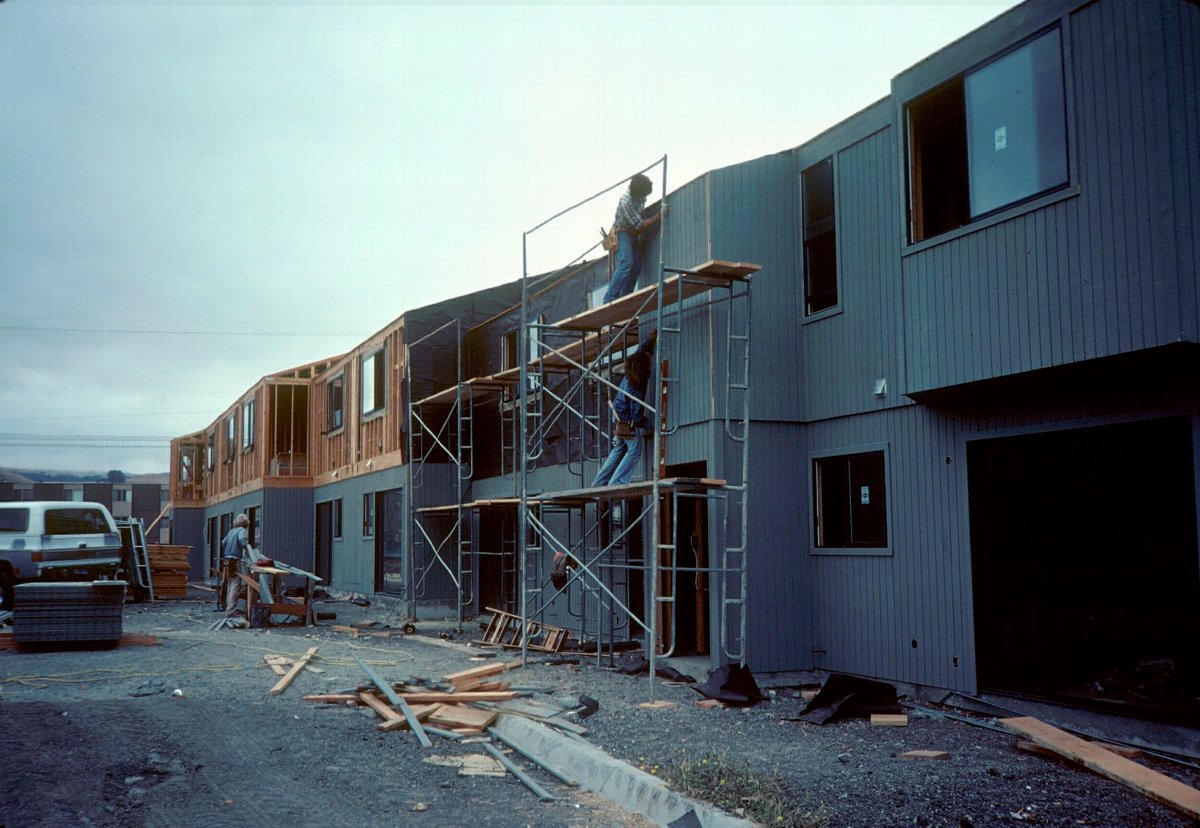
Siding The plywood was prepainted. With careful handeling in the field only minor touch up and trim painting was required. |
|
|
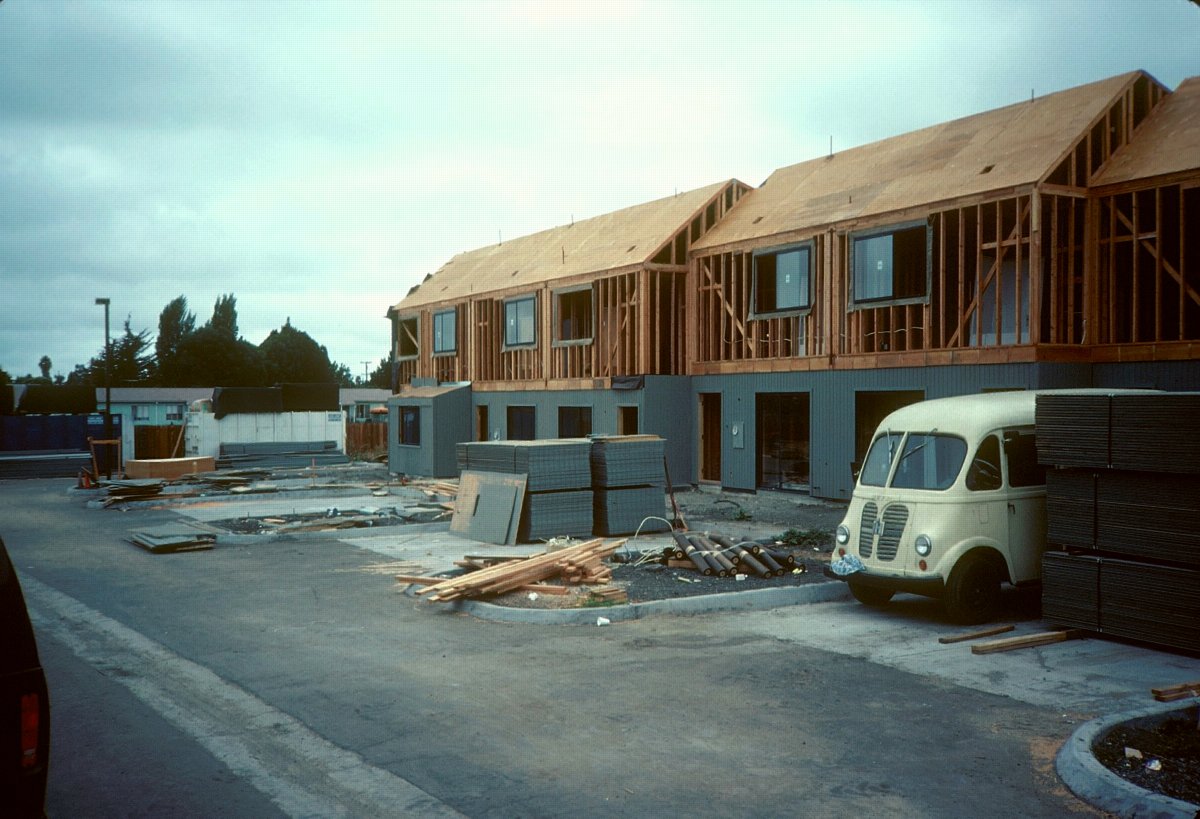
Siding Underway Note the stacks of drywall ready to be stocked in the buildings. |
|
|
Siding The siding, like all other steps in the process was completed in sequence, one building at a time. |
|
|
Prepainted Siding Prepainting the siding saves time and labor over paining after installation, but the key is careful handling in the field. Careless handling can damage the paint requiring extensive touch up, or complete repainting. |
|
|
Underway |
|
|
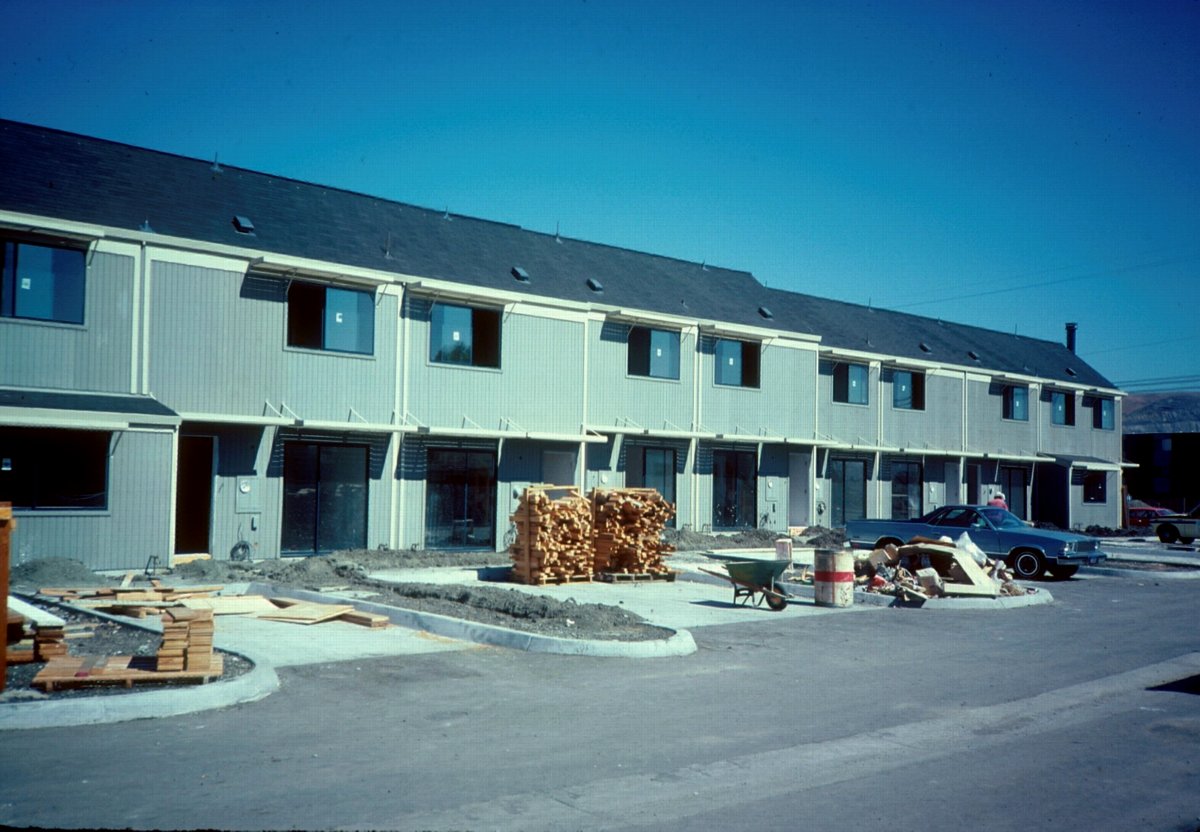
Clean Up Stage This building is nearing completion. Interior painting is underway and teh exterior is cleaned up prior to construcion of the covered parking, fencing and yard storage. |
|
|
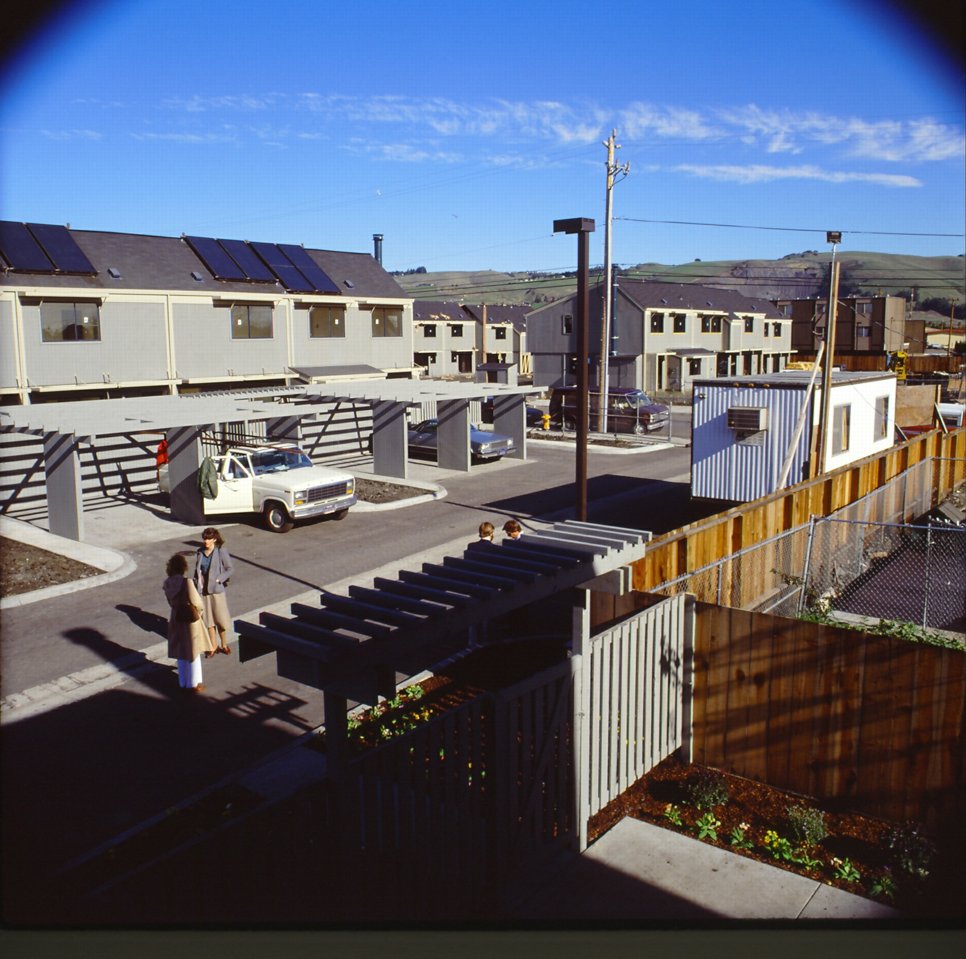
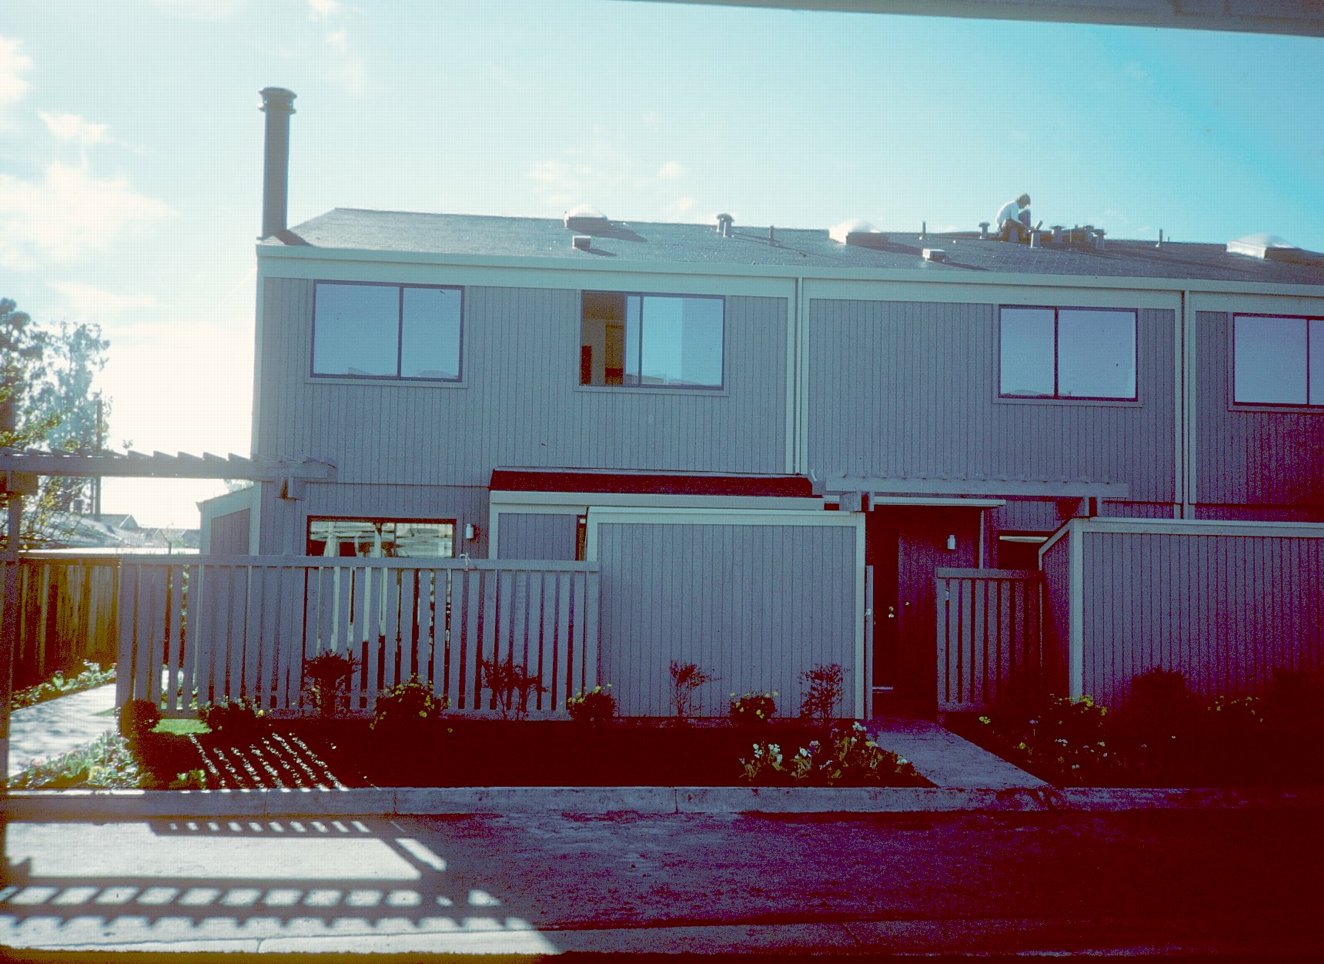
West Side Nearing Completion The parking structures, fencing and yard storage are nearly complete on the west side and the model units (right foreground) are being landscaped. |
|
|
Model Units, Exterior The model units are nearly ready for display. |
|
|
Model Four Bedroom Entry The end units were all four bedroom with fireplace. |

|
|
Entry The entry of a four bedroom end unit. |
|
|
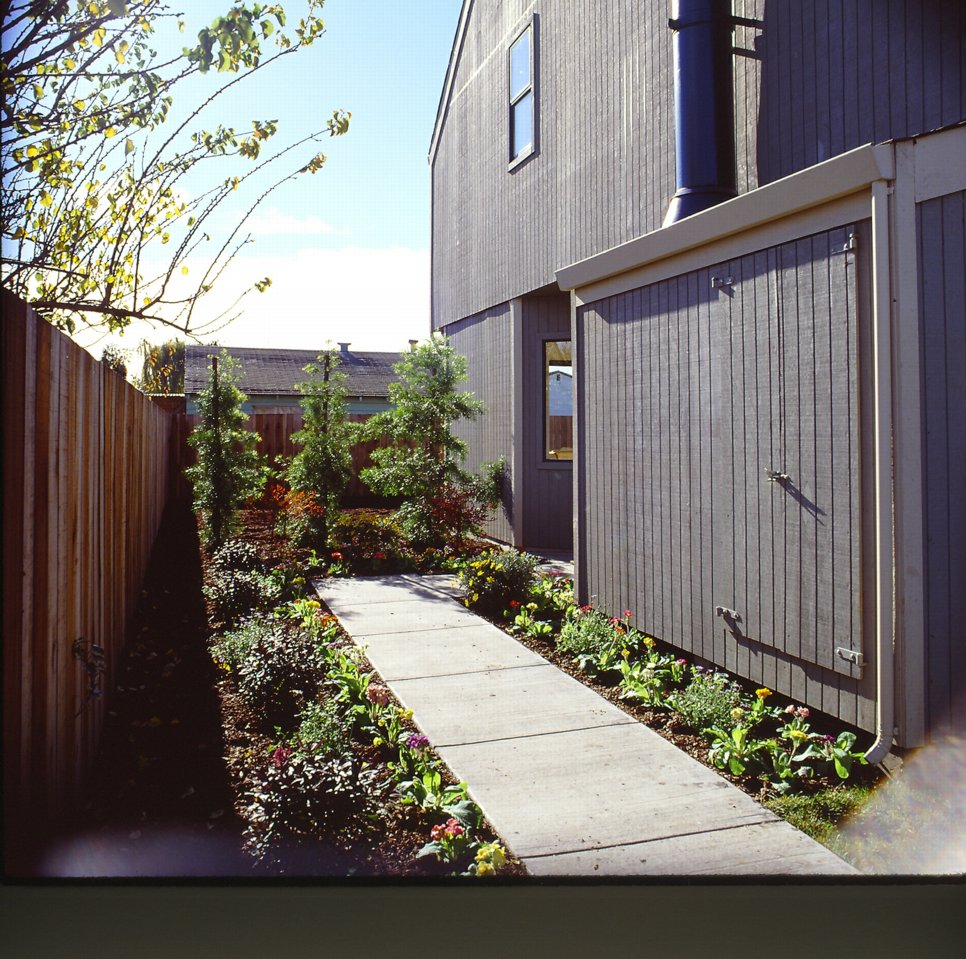
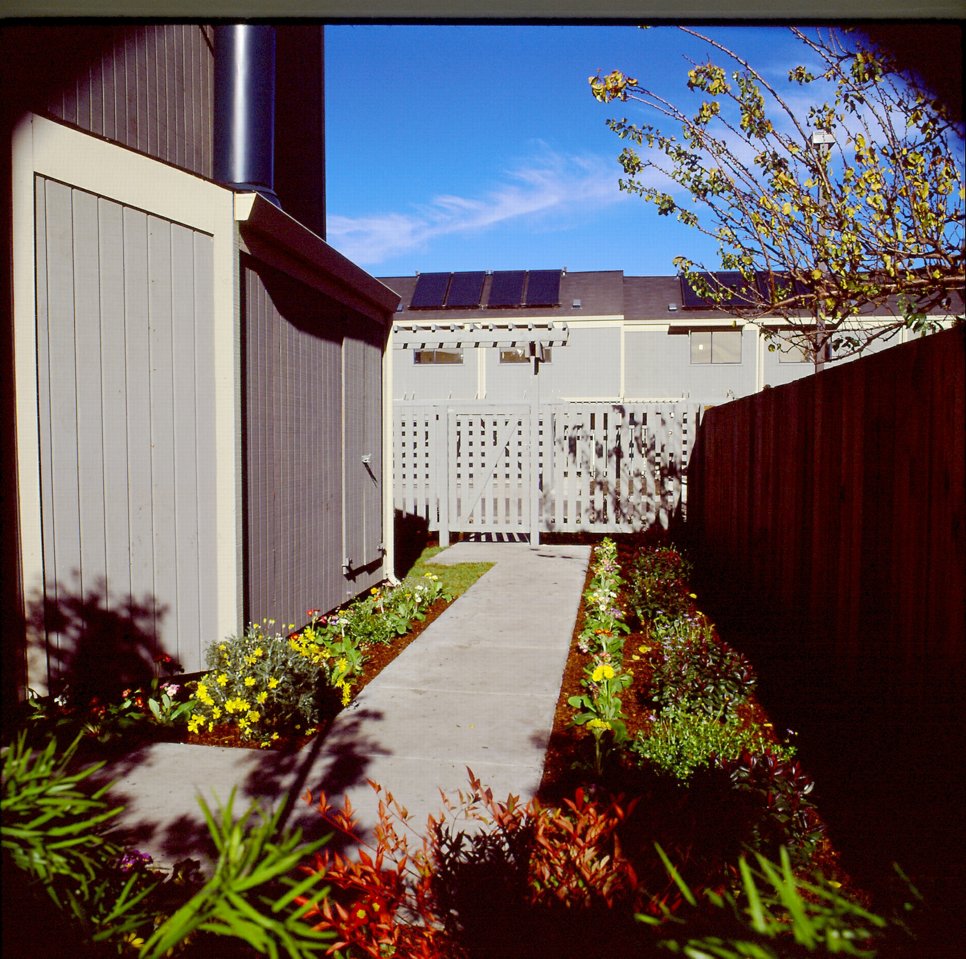
Entry Walk |
|
|
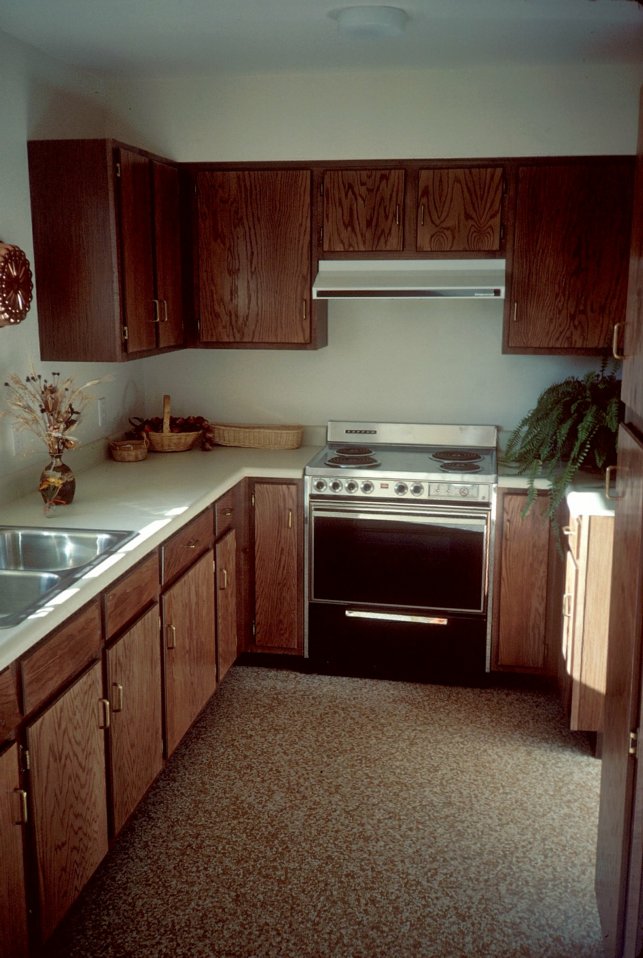
Kitchen Typical kitchen includes the full range of standard features. |

|
|
Livingroom with Fireplace Only the four bedroom units have fireplaces but all are bright and attractive. |
|
|
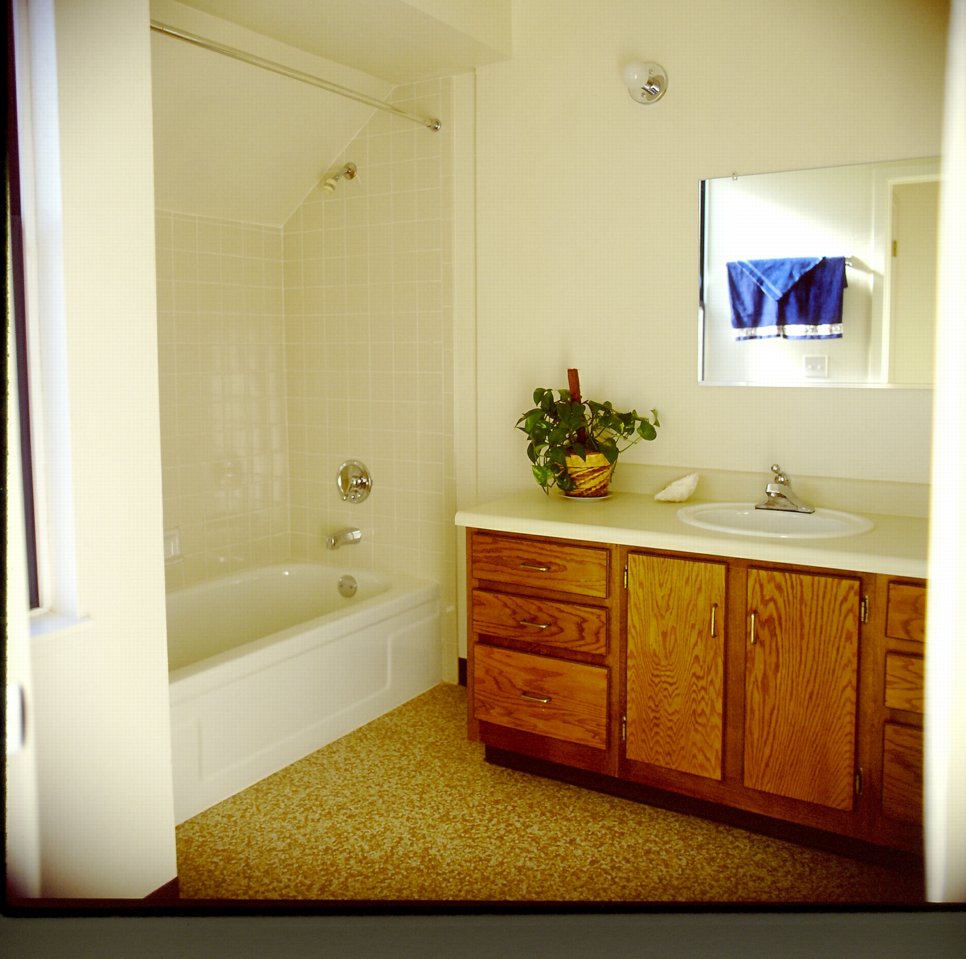
Master Bath Master bath features ceramic tile tubs and attractive cabinets. |
|
|
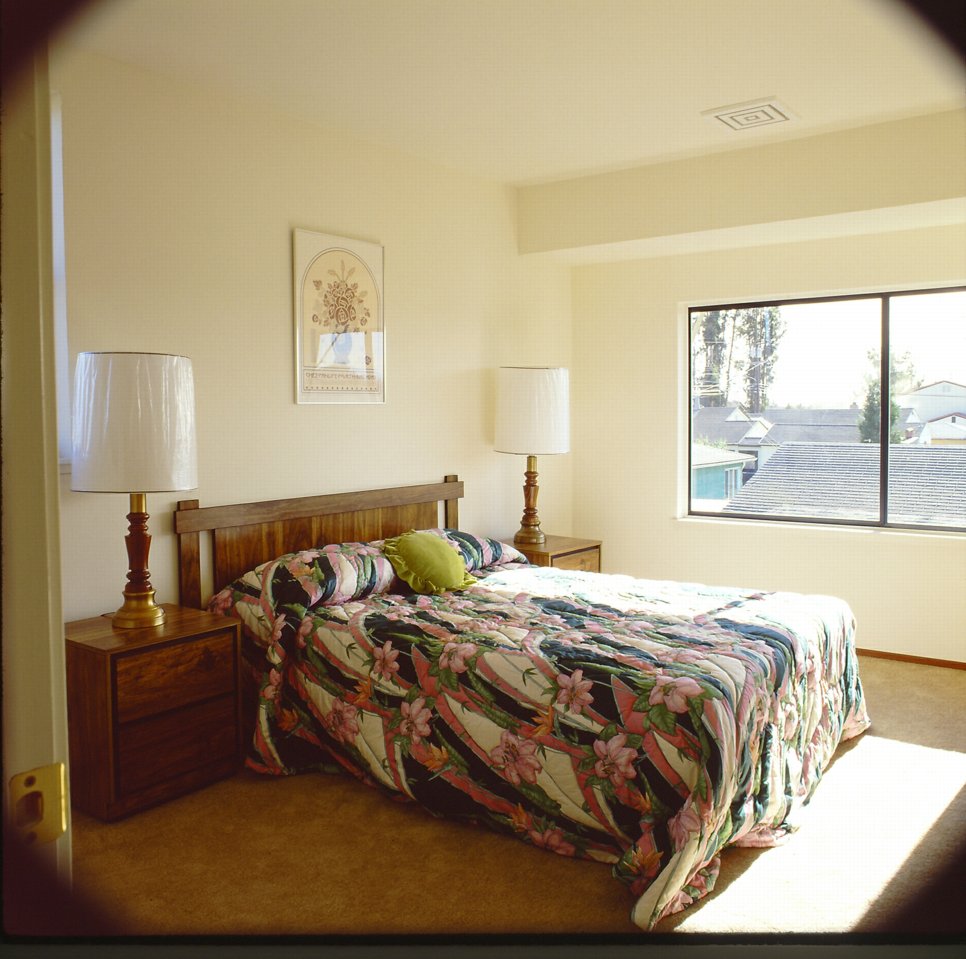
Master Bedroom To aid in even distribution of heat a duct and small fan connect the south facing and north facing bedrooms. Electronic controls monitor individual room temperature and turn the fan on to circulate |
|
|
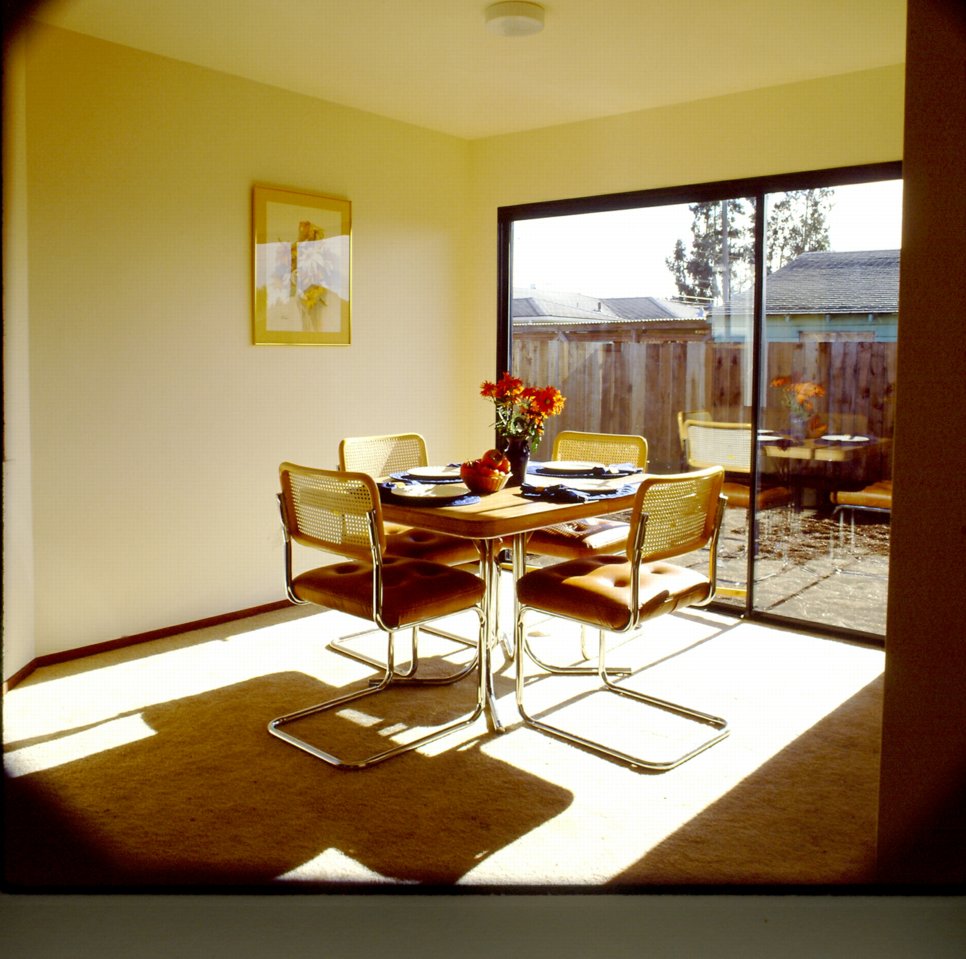
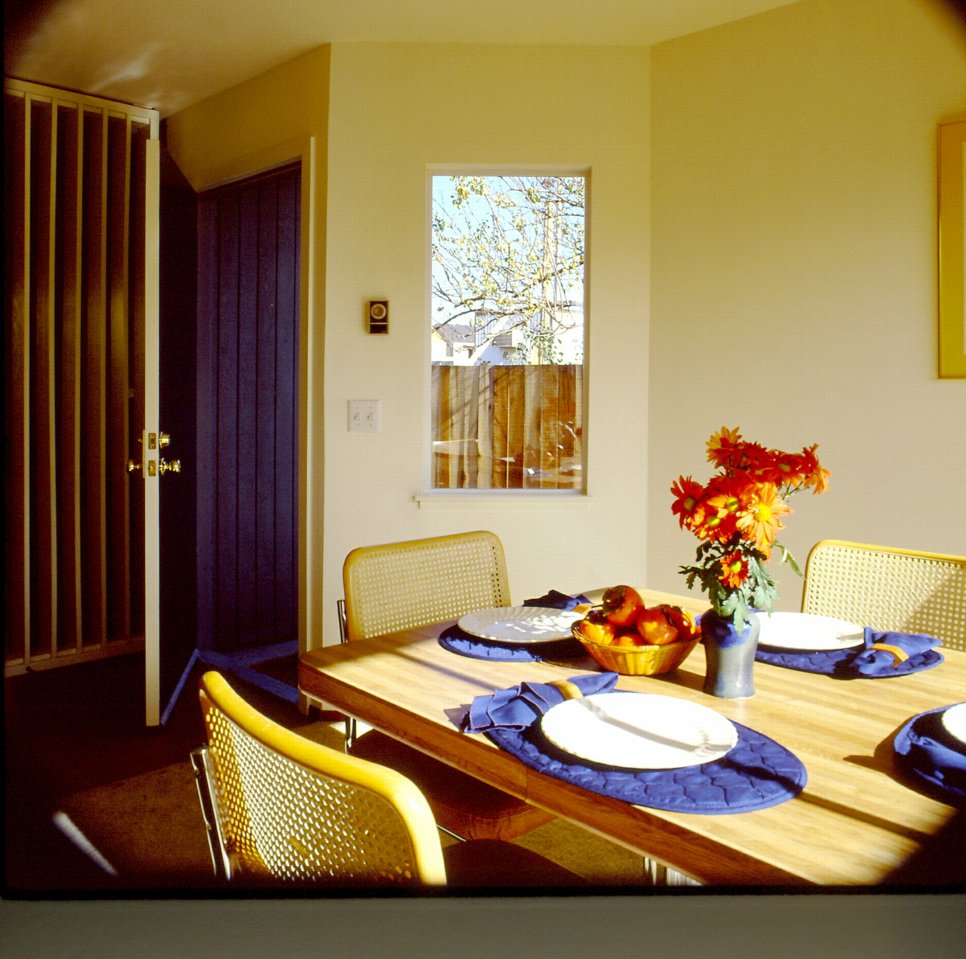
Dining Room |
|
|
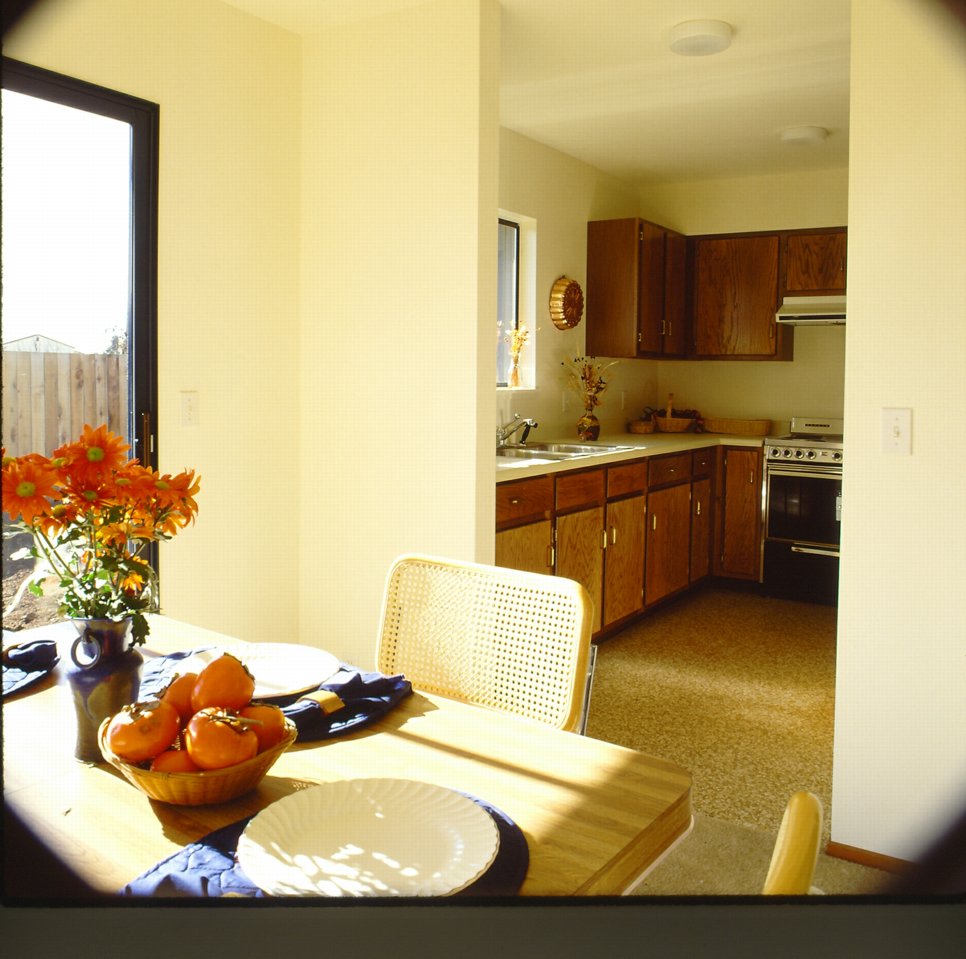
Kitchen / Dining Room |
|
|
Dining Room / Entry |